Canadian Vehicle Use Study
To install the logger, please complete the following steps:
Step 1 – Unpack the Shipping Box
Unpack the shipping box and check for the following items:
- 1. Return shipping envelope;
- 2. Shipping box (that you have already opened);
Important: Keep the shipping box, any other protective packaging and the return envelope to ship the logger back to us at the end of the study. The return envelope is pre-paid so there is no cost to you.
Keep the shipping box, any other protective packaging and the return envelope to ship the logger back to us at the end of the study. The return envelope is pre-paid so there is no cost to you.
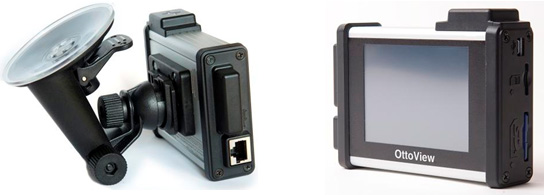
- 3. Logger and windshield mount;
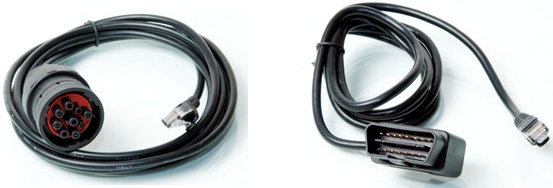
- 4. Round or rectangular connector cable (depending on the truck type).
Step 2 – Cable Installation
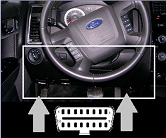
- 1. Locate the round or rectangular connector socket of the vehicle. The connector socket is usually located under the dashboard or behind the driver’s seat.
Round
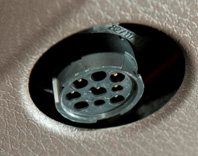
What the socket might look like and 2 possible locations (round):
Rectangle
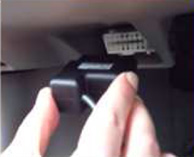
What the socket might look like and area should be located (rectangle):
- 2. Take the connector cable and plug the larger end into the round or rectangular connector socket of the vehicle.
Note: For the round connector socket, ensure that the arrow on the outside of the larger connector end is aligned correctly with the marker on the connector socket of the vehicle.
For the round connector socket, ensure that the arrow on the outside of the larger connector end is aligned correctly with the marker on the connector socket of the vehicle.
Round
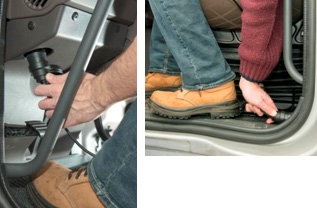
Connecting the connector cable (round):
Rectangle
Connecting the connector cable (rectangle):
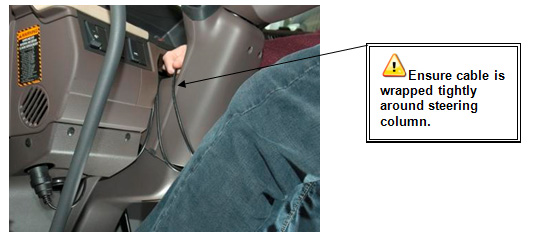
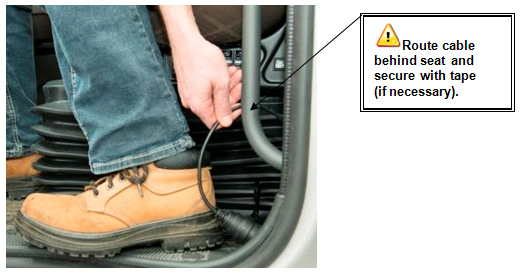
- 3. It is preferable to route the connector cable around the support column of the steering wheel. If the connector socket is located behind the driver’s seat, route the connector cord around the back of the driver’s seat to avoid stepping on it.
Important: When routing the cable:
-
Do NOT place in front of an airbag.
Look for the word “Airbag”, the letters “SRS” or the SRS logo or consult the vehicle’s manual for the exact location of the airbags in the vehicle. -
The cable must NOT hang down where your feet could get tangled in it.
-
The cable must be routed so that it does NOT interfere with the operation of the steering wheel and tilting mechanism, pedals and any other controls.
-
Plan the cable route so the cable does NOT get damaged by the normal operation of the vehicle.
Step 3 – Mount Installation
Note: The windshield mount should already be mounted to the back plate of the logger (the logger and windshield mount should be attached). The mount can be removed or re-connected to the back plate of the logger.
The windshield mount should already be mounted to the back plate of the logger (the logger and windshield mount should be attached). The mount can be removed or re-connected to the back plate of the logger.
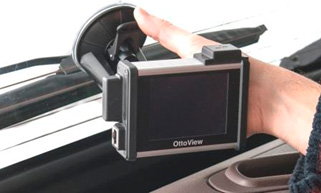
- 1. Find a good place on the windshield to place the mount and logger. The logger should be located close enough to allow the driver to reach the screen without interfering with the driver’s vision.
- 2. Place the suction cup of the mount against the inner surface of the vehicle’s windshield and then secure the suction cup by pressing the locking lever securely against the circular base.
Important: When placing the mount:
-
Do NOT place in front of an airbag.
Look for the word “Airbag”, the letters “SRS” or the SRS logo or consult the vehicle’s manual for the exact location of the airbags in the vehicle. -
It must NOT block your view.
-
It must NOT interfere with using any mirrors of the vehicle.
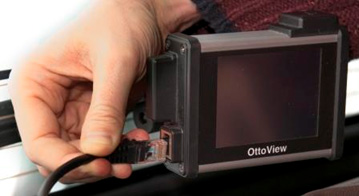
- 3. Plug the small end of the connector cable into the lower left side of the logger. When you connect the logger to the vehicle for the first time it will automatically power up and display a start screen that shows the system version, the trip number and a start up delay timer.
Important: Do not start the vehicle at this time. The logger will automatically power off in about 30 seconds. Then you may start the engine.
Do not start the vehicle at this time. The logger will automatically power off in about 30 seconds. Then you may start the engine.
