On this page
- 1. Introduction to TDG Online
- 2. What you need
- 3. Access Government of Canada online
- 4. Create a TDG Online Account
1. Introduction to TDG Online
TDG Online is a Transport Canada web portal for transporting dangerous goods. The portal allows access to services. As TDG Online evolves, different services and user guides will be added.
As a user, you will be able to access different TDG services like:
- the CANUTEC Registration System (CRS)
- Dangerous Goods Accident Information System (DGAIS)
- Facility & Design Registration (FDR)
- Approvals, and
- Emergency Response Assistance Plan Online Services (EOS)
At first, the CANUTEC Registration System (CRS) will be the only service available. Transport Canada will let you know as soon as other services become available.
This guide will help you set up the accounts you need to access TDG Online and its apps.
2. What you need
To use TDG Online, you must first have 3 things:
- an internet connection
- a Government of Canada online account
- a TDG Online account
3. Access Government of Canada services online
Start by accessing Government of Canada services account.
- Open a browser and go to: https://dg-md.tc.canada.ca/
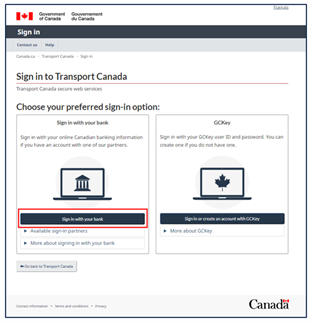
- Log-in to your Government of Canada services account using either:
- your banking credentials of a sign-in partner, or
- your GCKey account
3.1 Log in with your banking credentials
This user guide will only briefly address the banking sign-in option as it involves your personal banking credentials.
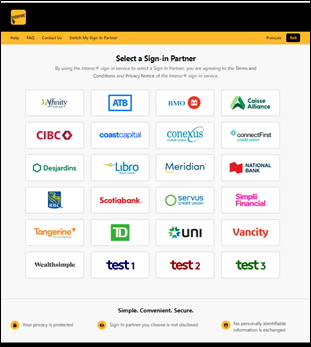
- To log in with your banking credentials, click on “Sign in with your bank”
- Choose your bank from the list
- Follow the prompts
- Enter your banking username and password
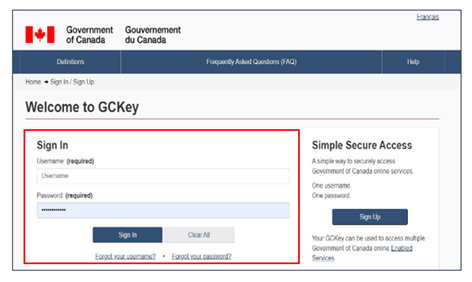
3.2 Log in with your GCKey Account
- To log in with your GCKey, click on “Sign in or create an account with GCKey”
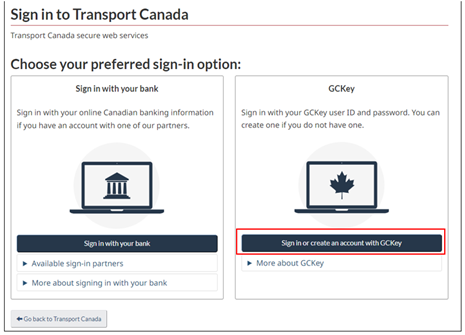
- Enter your username and password to sign in
- Click “Sign In
3.3 Create a GCKey account
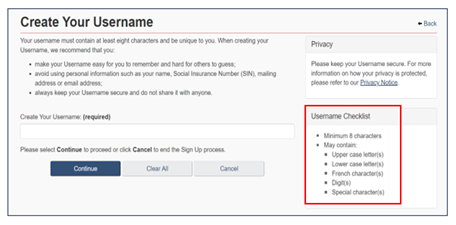
- If you don’t have a GCKey, click ‘Sign Up”

- Click “I accept” to accept the terms and conditions

- Create a username that meets the criteria in the “Username Checklist”
- Click “Continue”
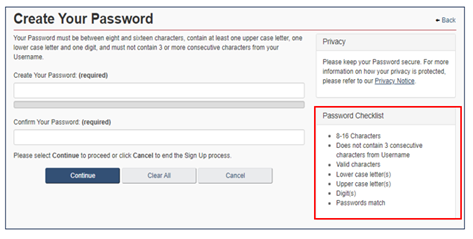
- Create a password that meets the criteria in the “Password Checklist”
- Click on “Continue”
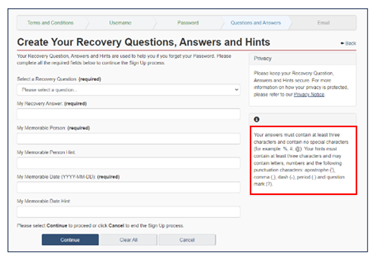
- Create your recovery questions and answers. These will help you recover your username and password if you forget them
- Click on “Continue”
- The system will confirm that you’ve completed the sign-up process
- Click on “Continue”

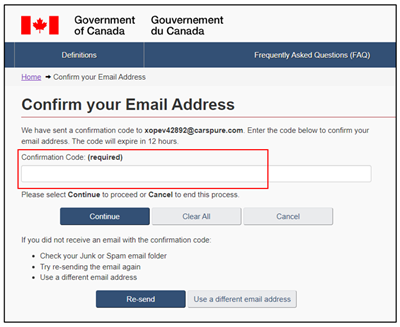
- A confirmation email will be sent to you. Enter the confirmation code and click on “Continue”
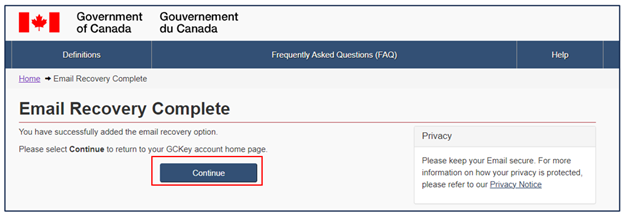
- The “Email Recovery Complete” screen is displayed. Click on “Continue”
- A welcome message is displayed
- Click “Continue”

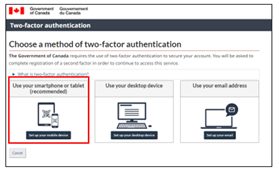
3.3.1 Set up two-factor authentication
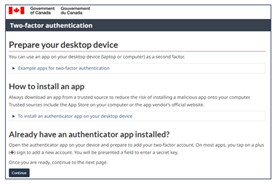
Next, you need to sign-up for two-factor authentication. We recommend using your smartphone or tablet. You can also use your desktop device or your email, but we don’t cover those methods in this guide.
- Click on “Use your smartphone or tablet”
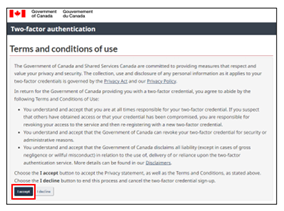
- Click on “I accept” to accept the terms and conditions
- The site will walk you through the process of installing a mobile app for two-factor authentication onto your device
- Click on “Continue”
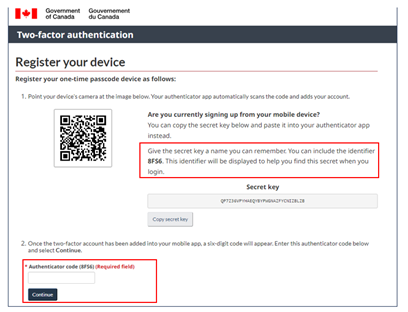
- Open the app on your mobile device and tap on the “+” sign
- Direct your phone’s camera to the QR code displayed on your computer screen
- Your authenticator will automatically register the code and add it to your authenticator account and your GCKey account
- Enter the code from your authenticator into the “Authenticator code” field
- If you already have the authenticator set up on your phone, the authenticator code for this new application will be generated. Although your code will be different, in this example the generated code is 8FS6
- This code corresponds to the authenticator specific to this app
- Enter the authenticator code that’s generated on your cell phone into the “Authenticator code” field
- Click “Continue”
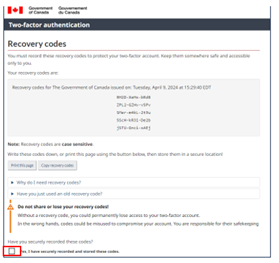
- Click the checkbox to confirm that you’ve saved the recovery codes
- Click “Continue”
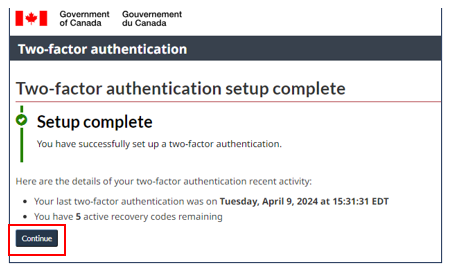
- Your set-up is complete
- Click on “Continue”
4. Create a TDG Online account
The final step is to create a TDG Online account.
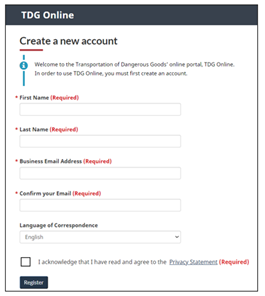
- The “Create a new account” form appears
- Complete the form
- Click on the checkbox to agree to the Privacy Statement
- Click on "Register"
- You will receive a confirmation email at the email address you provided
- Click on the link in the email to confirm your email address
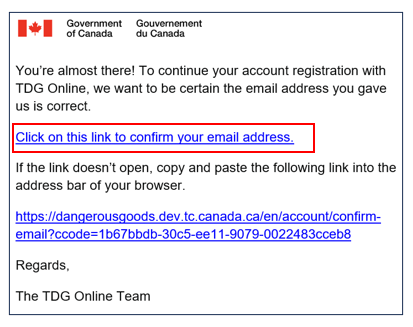
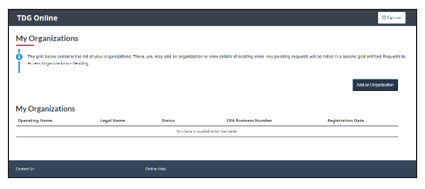
- This will bring you to the “My Organizations” landing page in the TDG Online portal